How to use the hoymiles 2-in-1 vs 4-in-1 microinverters to increase efficiency

When it comes to microinverters, are you used to using a 1-in-1 device, which doesn’t require much thought or planning? What if you could increase efficiency and cost-effectiveness by utilizing 2-in-1 and 4-in-1 microinverters? This requires being a bit more strategic about your microinverter placement – but it doesn’t have to be complicated.

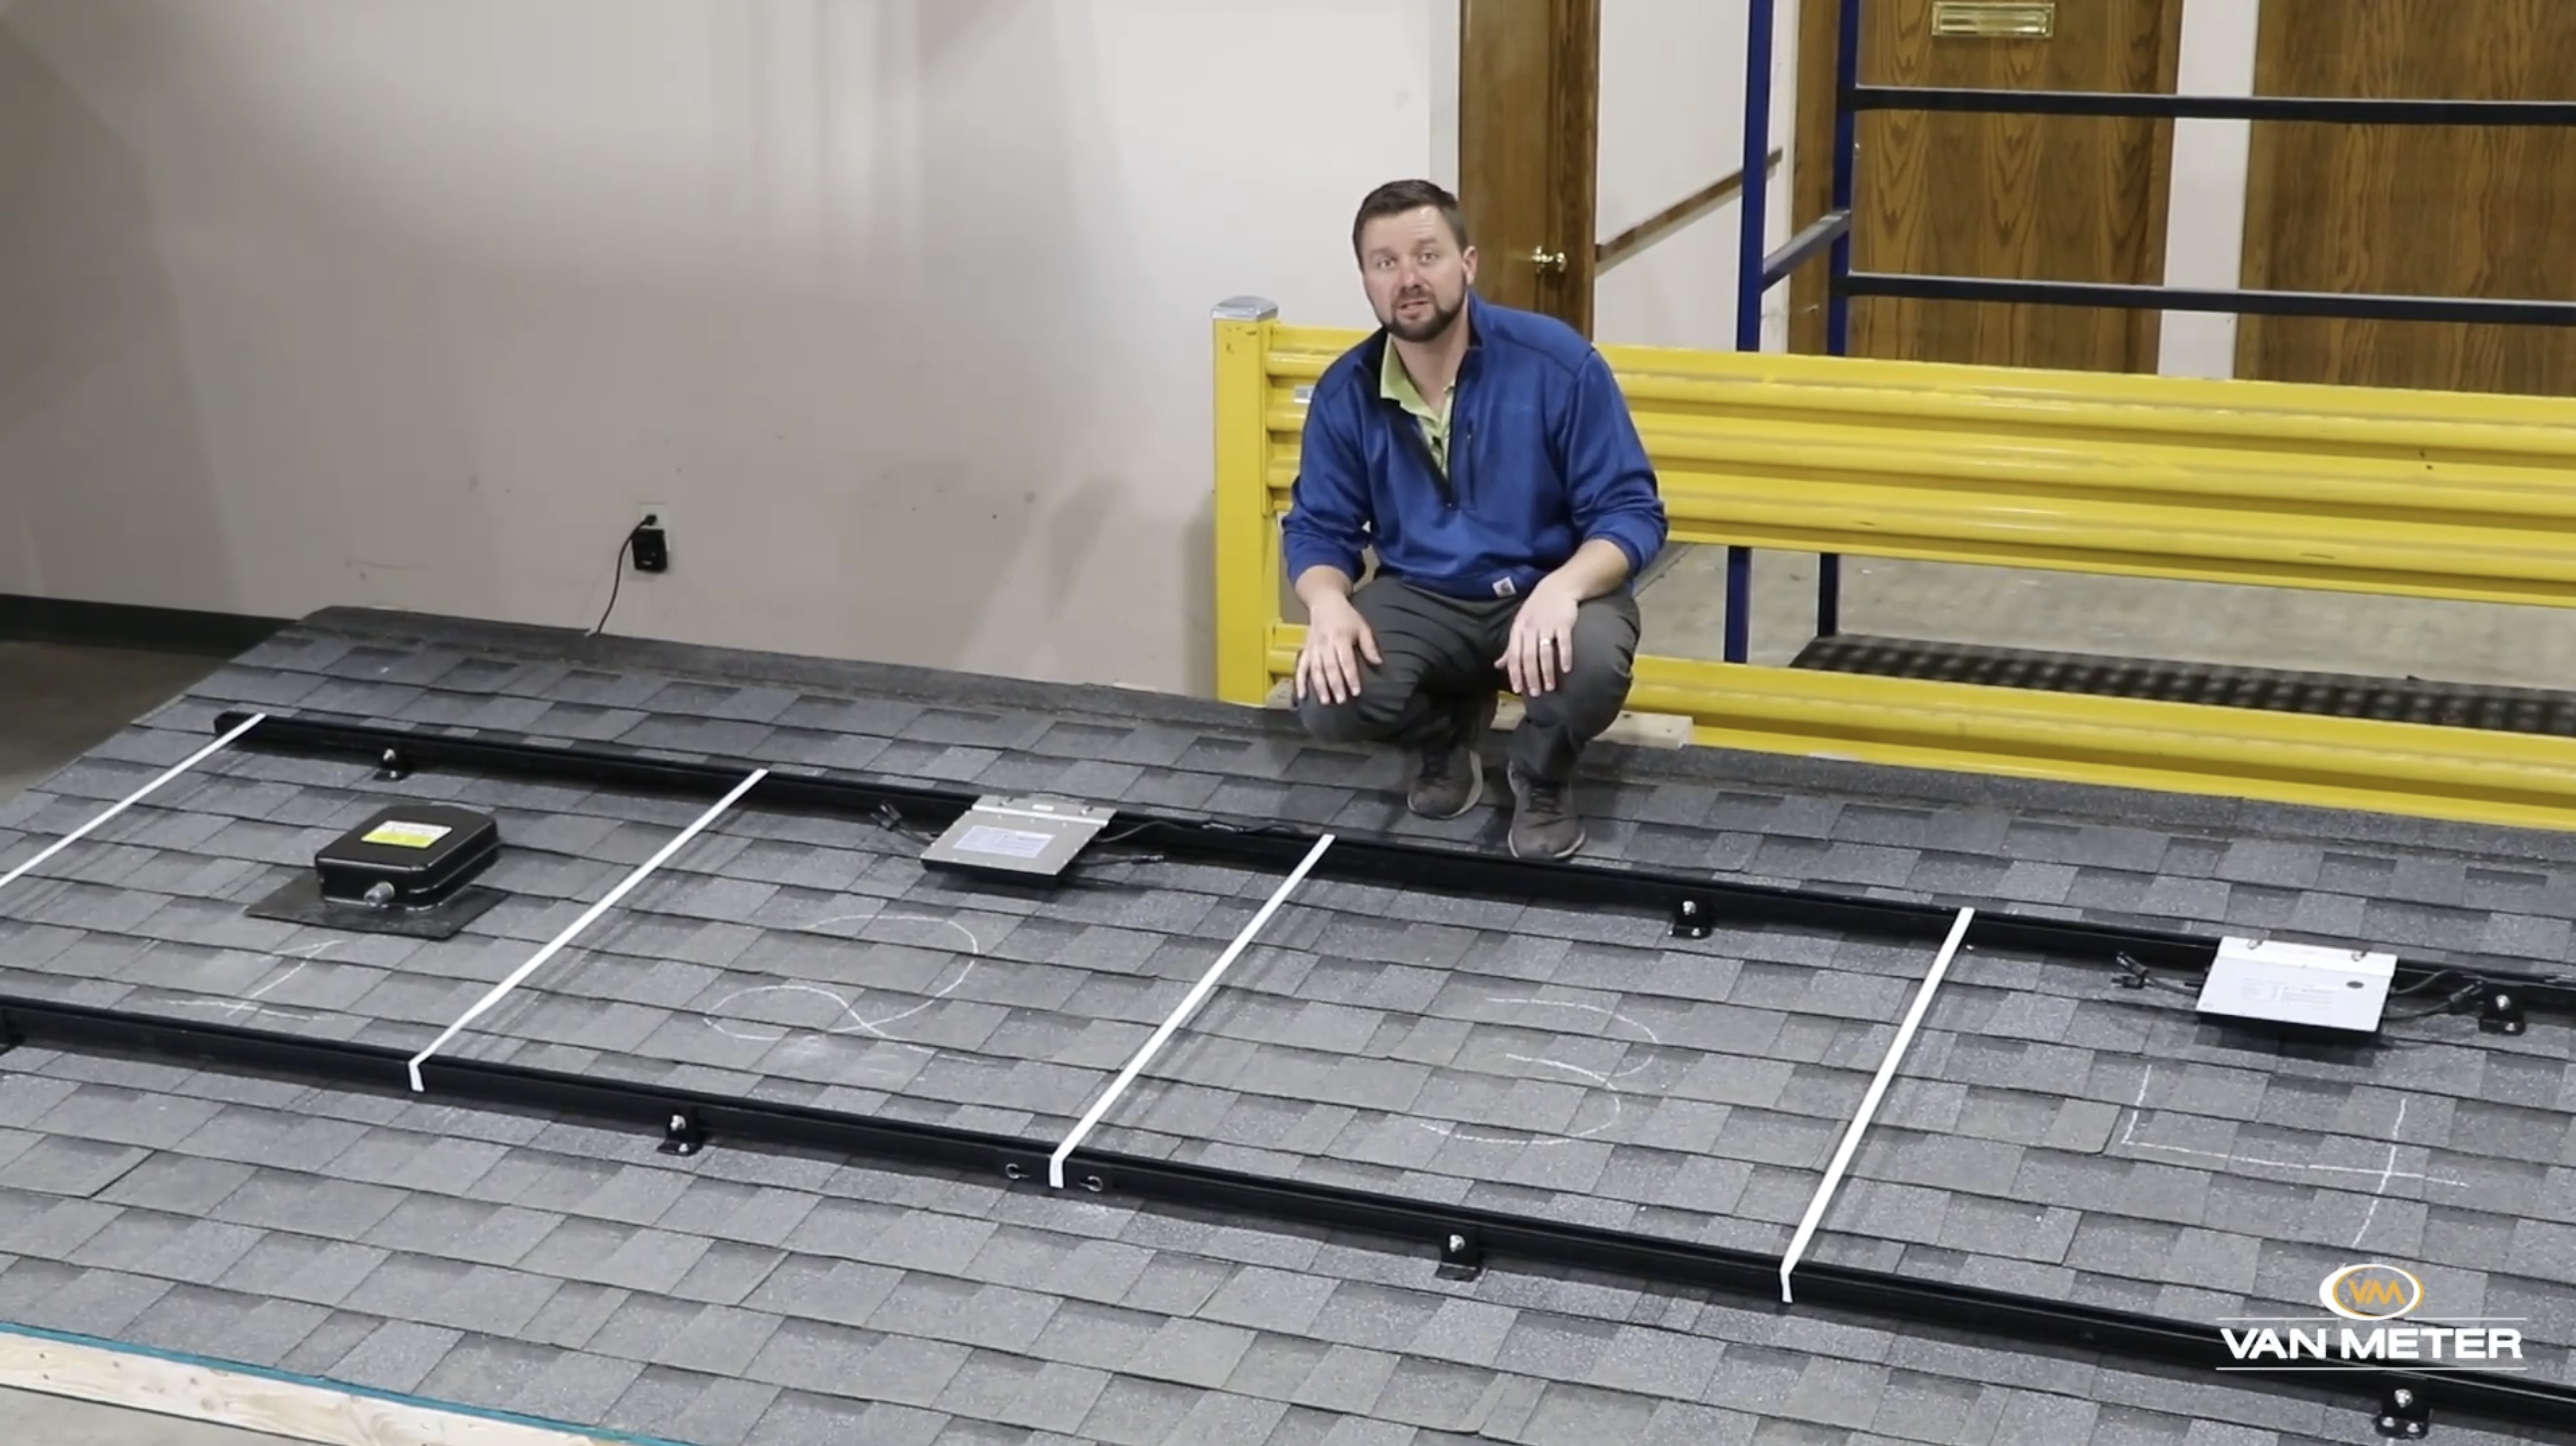
In this video, Ethan Wollbrink, Van Meter’s national solar sales manager, will demonstrate the ideal placements for Hoymiles 4-in-1 vs 2-in-1 microinverters. He’ll also discuss the benefits of using each type of setup in your next solar installation.


HOW TO PLACE THE HOYMILES 4-IN-1 MICROINVERTER FOR INCREASED EFFICIENCY

1. Mount the microinverter on the right side of the second module. Ensure the leads are accessible from under the module.

2. Mount and plug-in module #1.
3. Mount and plug-in module #2.
4. Mount and plug-in module #3.
5. Mount and plug-in module #4.

TIP: The easiest way to get factory leads to reach this distance is to use our custom wire management module. While you could make jumpers and add it to a different product, we have specifically customized our wire management module with long factory leads to help increase installer efficiency.

HOW TO USE THE HOYMILES 2-IN-1 MICROINVERTER FOR INCREASED EFFFICENCY
hoymiles microinverter

1. Place microinverter in the center of every second module.

2. Mount and plug-in module #1.
3. Mount and plug-in module #2.
LEARN MORE ABOUT SOLAR INSTALLER SERVICES AND SOLUTIONS

Interested in trying out different Hoymiles microinverters? To learn more, reach out to us or call 1-800-247-1410.

 
ethan wollbrink van meter

ARTICLE BY:

ETHAN WOLLBRINK
EMPLOYEE-OWNER, NATIONAL SOLAR SALES MANAGER